
Never go to the range without a plan. When you get there, do a “documented standard of achievement” – using the proper target for the drill and the proper distances. Make note of the difficulties you have. Select one or two of them and practice.
Over the past few years, I’ve found that I was working distance to the near exclusion of working speed up close, something you’ve likely noticed that I’ve been trying to remedy as reported here and in the Tactical Wire (likewise a free subscription, if you’re into that sort of material). While trying to get the “quick, coarse accuracy, up close” worked out, I found I fouled my precision work slightly.
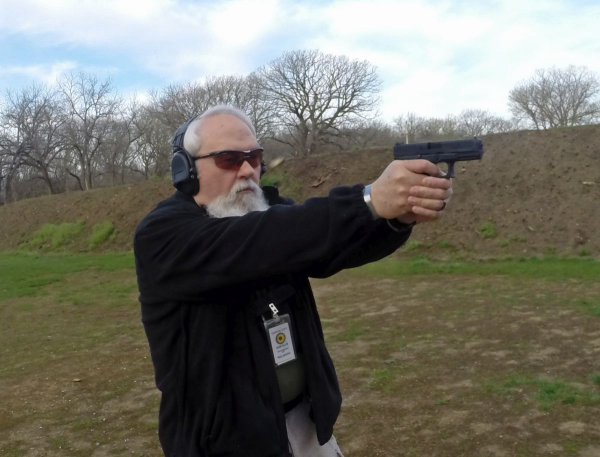
I did a little reading off of the range and returned with some exercises. One was to work the ‘wobble zone.’ Something I’d wandered into – and recently read about in an excellent piece by Steve Moses – as well as in material from Tom Givens and videos by Larry Vickers. I elected to try this with the GLOCK 44.
As a training analog to my typical G19, it makes use of slightly more economical and sometimes available 22 LR – but you can work this drill with any pistol (like the Ruger Mark IV-22/45 lines, the SW22 Victory, Browning Buckmark or any centerfire). The skill gained actually transfers because it adjusts your mind to rely on what you see and what you feel.
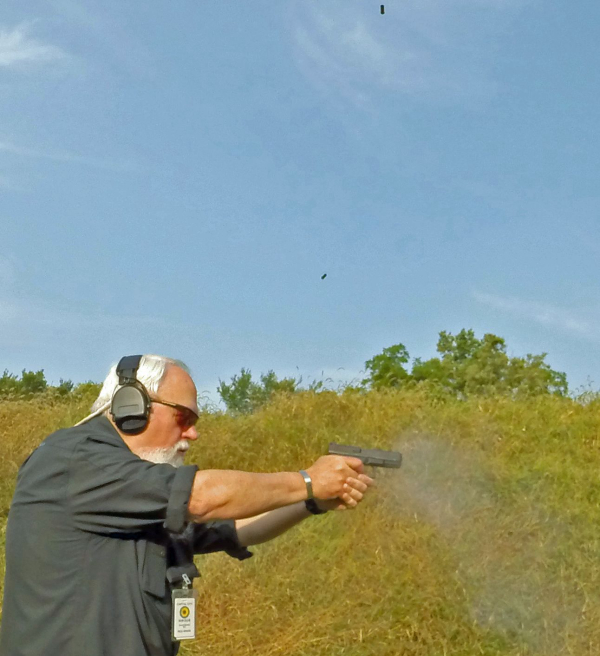
The wobble zone is a bit of a take-off on a real thing: the inability of the human machine to hold a gun completely still. Moving it in a predictable arc, first clockwise (that’s “to the right” for those who can’t read analog clocks), then counter-clockwise. I’m not waiting for the “sights to be perfect” to violently clutch the pistol and slam the trigger back. During the arc of motion, I put constant, consistent pressure on the trigger until the sear breaks.
If I’m “close enough” to the “large enough” target, the hit appears somewhere in the main scoring zone. The beauty of the drill is that if your accuracy is “minute of dessert plate at three yards,” that’s okay; you still learn that motion in the gun – as long as the sights are still somewhere over the target – will result in hits in the target as long as you don’t jostle the gun. The circular motion is then replaced with a “figure 8” –on its side. Keep the motion within the target, maintain a consistent grip and put continuous pressure on the trigger, letting the shot break during movement.
Some coordination – more likely ‘propioception’ – is handy, as is understanding that if you change your grip (via a convulsive clutch) – particularly if you slam the trigger back – it will lead to negative outcomes.
The drill is to teach that you can shoot through the arc of movement and still score a hit.
The next drill was the “alignment error” drill. This reinforces the notion that you need to see what you need to see to get hits at a particular distance. For this drill – at your distance of choice, on the target of your choice – hold the front sight up out of the notch, say half way, and carefully, consistently press the trigger. Doing this with the front sight high, repeating it with the front sight moved to the right of the rear sight notch, moved to the left and buried in the notch, will show hits still inside the target – though favoring the direction of the error. Likewise, trigger control in this exercise is critical – as is maintaining a consistent grip. If you bury the front sight, shoot when it’s up out of the notch, buried right or left – and you jerk the trigger, you caused the problem. You think it’s “sights,” but it’s your whole hand (arm, shoulder, body).
The real lesson – it’s less the iron-clad sight image and more the effect we have on moving the gun through ignition that creates misses. Intentionally moving and intentionally causing sighting errors and getting the hits nevertheless – they teach keeping the gun still while pressing the trigger.
I finished the practice with an evaluation, copying the “3-6-9” drill from Larry Vickers. I modified it down to five rounds per string and added a “12” at the end. The numbers refer to distance – it can be measured in feet or yards. Using the B-8 repair center bullseye target, I didn’t run a timer. This was checking my work as far as hold, grip, sight alignment/sight picture. I didn’t use “feet” or “yards,” using my paces – which are mine. My objective at three paces was five hits in the “X” ring. At six paces, I sought to stay in the 10 (and “X”), and at nine and twelve, to stay in the shaded part of the target (the “9” ring and in).
Using the GLOCK 44, I stayed inside the “X” ring until I was back to nine paces when I pressed a round up into the “10” ring. At twelve, I added three more to the “10” ring above the “X.”
Periodically repeating the “wobble” and “sight error” confirmation drills may pay dividends – and they’re critical for new shooters.
Dedicated practice is having a plan. This was just one – make up your own. Just have a plan to learn something from every single round you fire.
-- Rich Grassi